
To establish infrared video, start by positioning your camera in a strategic spot clear of obstructions. Power it on and check the live feed, adjusting the IR intensity if the footage appears washed out or too dark. Fine-tune the camera angle for maximum coverage and guarantee the infrared LEDs are properly illuminating the scene evenly. Regularly test and recalibrate your setup to maintain clear, reliable nighttime footage. Keep going to discover more tips for perfect infrared surveillance.
Key Takeaways
- Position the camera at the desired location and ensure it’s securely mounted for stable footage.
- Power on the camera and access its live feed to assess initial image quality.
- Adjust IR intensity settings manually to prevent overexposure or dark spots in the footage.
- Fine-tune camera angles and focus for optimal coverage and minimal blind spots.
- Conduct nighttime testing, then recalibrate IR LEDs and camera settings for consistent image clarity.

Setting up infrared video equipment allows you to capture clear footage in low-light or complete darkness, making it essential for security, surveillance, and wildlife observation. To guarantee your infrared camera performs at its best, you need to focus on proper infrared camera calibration. Calibration involves adjusting the camera’s settings so that the infrared LEDs illuminate the scene evenly and accurately, avoiding overexposure or dark spots that can obscure details. You should start by positioning your camera at the desired location, then powering it on and viewing the live feed. If the footage appears washed out or too dark, tweak the IR intensity settings. Many cameras have automatic calibration features, but manual adjustments often yield better results, especially in challenging lighting conditions. Consistent calibration helps maintain image quality over time, reducing the need for frequent adjustments and ensuring reliable nighttime surveillance. Additionally, advancements in robotics integration are increasingly influencing surveillance technology, allowing for smarter and more autonomous monitoring systems.
Once your infrared camera is calibrated, you can move on to implementing effective nighttime surveillance techniques. These techniques involve more than just turning on the IR LEDs; they include strategic placement of the camera to cover high-risk or vulnerable areas while avoiding obstructions that could block infrared light. You should also consider the camera’s field of view and adjust the angle to maximize coverage. To further improve image clarity, use motion detection settings combined with infrared illumination, so the camera only records when movement is detected, saving storage space and reducing false alarms. Additionally, guarantee that your camera’s sensitivity settings are properly configured—too high, and you risk capturing false triggers from small animals or moving foliage; too low, and you might miss critical activity. Regularly testing and adjusting these parameters will help you develop effective nighttime surveillance techniques that adapt to changing environmental conditions.
In practice, setting up your infrared video system involves a cycle of calibration, testing, and fine-tuning. Start by selecting a secure, strategic location where the camera can monitor the desired area without obstruction. Perform infrared camera calibration during low-light conditions to ensure the IR LEDs illuminate the scene evenly. Once calibrated, test the system during actual nighttime conditions, observing the footage for clarity and coverage. Adjust the IR intensity and camera angles as needed to eliminate blind spots and ensure consistent illumination across the monitored zone. Maintaining this setup by periodically recalibrating and tweaking your surveillance techniques guarantees your infrared system remains effective and reliable. Proper calibration combined with strategic nighttime surveillance techniques makes your infrared video setup a powerful tool for safeguarding property, monitoring wildlife, or observing nocturnal activity with confidence.
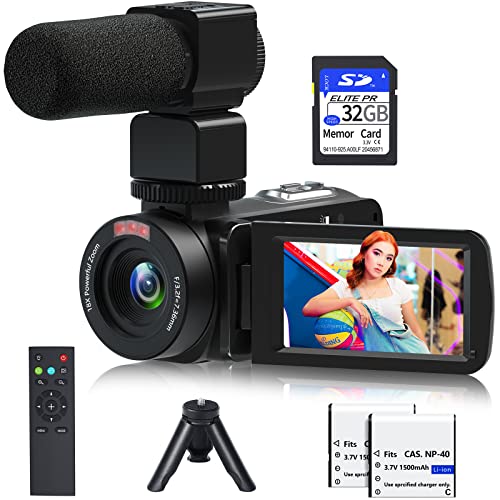
Video Camera, 1080P 30MP Camcorder IR Night Vision Vlogging Camera for YouTube,3.0" LCD Screen 18X Digital Zoom Recorder Camera with Remote Control, Microphone, Mini Tripod, 2 Battries, 32GB SD Card
【Video Camera Camcorder】--This 30FPS video camera recorder movies in 1080P resolution.It includes remote control, microphone, mini tripod, 2...
As an affiliate, we earn on qualifying purchases.
Frequently Asked Questions
What Are the Ideal Ambient Conditions for Infrared Video?
You should guarantee ambient lighting is minimal or stable, as infrared cameras perform best in low-light or consistent lighting conditions. Keep the temperature stable, ideally between 15°C to 25°C, to prevent thermal fluctuations that could distort images. Avoid drafts, direct sunlight, or sudden temperature changes. Maintaining these conditions helps your infrared video remain clear and accurate, providing high-quality visuals for your needs.
How Do I Troubleshoot Common Infrared Camera Issues?
Did you know that 60% of infrared camera issues stem from simple problems? To troubleshoot, start by checking the power supply; verify it’s plugged in and functioning properly. Next, clean the lens with a soft cloth to improve image clarity. If problems persist, inspect connections and cables for damage. Regular maintenance, like lens cleaning and power supply checks, can prevent many common infrared camera issues and keep your system running smoothly.
What Safety Precautions Should I Take During Setup?
When setting up your infrared camera, prioritize electrical safety by turning off power before connecting any cables. Guarantee proper grounding of the equipment to prevent static or electrical shocks. Use insulated tools and avoid working in wet or damp conditions. Keep your workspace clear of clutter and follow manufacturer instructions carefully. These precautions protect you from electrical hazards and ensure your infrared video setup is safe and effective.
Can Infrared Cameras Be Used Outdoors in Extreme Weather?
Sure, infrared cameras are practically invincible, right? Not quite. While many models boast outdoor weather resistance and durability against extreme conditions, you shouldn’t test their limits by leaving them in a hurricane or blizzard. For reliable outdoor use, choose cameras specifically built for harsh weather. They’re crafted to withstand rain, snow, and wind, ensuring your infrared footage stays clear even when Mother Nature throws a tantrum.
How Often Should I Calibrate or Maintain Infrared Video Equipment?
You should calibrate your infrared video equipment regularly, ideally following the manufacturer’s calibration schedule, which is often every 6 to 12 months. Maintenance frequency depends on your usage and environment; in harsh conditions, more frequent checks are necessary to guarantee peak performance. Keep an eye on image quality and sensor function, and perform maintenance as needed to prevent issues and extend your equipment’s lifespan.

VETEK Video Camera 8k Camcorder 48MP UHD WiFi IR Night Vision Vlogging Camera for YouTube, 18X Digital Zoom 3.0“ LCD Screen Digital Camera with Microphone, 32G SD Card, Remote Control and 2 Batteries
【8K 48MP Video Camera】It adopts for newest upgraded sensor.This vlog camera max supports 8K(7680X4320)15fps video resolution,(It also supports...
As an affiliate, we earn on qualifying purchases.
Conclusion
Now that you’ve set up your infrared video system, you’re ready to capture clear, night-time footage. Remember, infrared cameras can operate in total darkness, providing vital security or research insights. Did you know that infrared technology is used in over 70% of nighttime surveillance worldwide? With your new setup, you’re joining a global community leveraging this incredible technology. Keep experimenting and refining your setup—you’re now equipped to explore the unseen world around you!

Video Camera, Full HD 1080P 30MP Camcorder, Vlogging Camera for YouTube with Infrared Night Vision, 18X Digital Zoom 3.0“ LCD Screen Digital Camera, Video Recorder with Remote Control and Battery
【Full HD 1080P 24MP Video Camcorder】This video camera supports up to 1080P video resolution and 24.0MP image resolution....
As an affiliate, we earn on qualifying purchases.
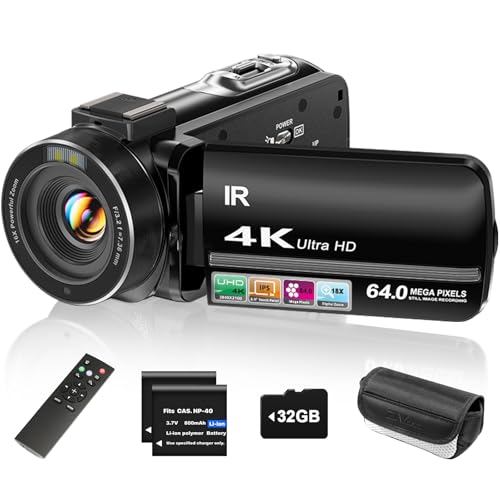
ZYDIIE 4K Video Camera Camcorder UHD 64MP Vlogging Camera for YouTube 18x Digital Zoom 3" 270° Rotation IPS Touchscreen Video Camcorder with Night Vision, Remote Control, 32GB Card, 2 Batteries
4K & 64MP Video Camera Camcorder: Capture life in breathtaking detail with 4K Ultra HD recording and vibrant...
As an affiliate, we earn on qualifying purchases.