When sending photo evidence, make certain your images are clear, well-lit, and in formats like JPEG or PNG. Capture the entire scene or object from different angles and guarantee they’re focused without blurriness. Avoid dark or cluttered backgrounds to keep the main subject obvious. Label your files properly and keep original copies intact. If you want to learn more about optimizing your photos, keep going for detailed tips to improve your submissions.
Key Takeaways
- Send high-resolution, well-lit photos that clearly show the evidence without blurriness or shadows.
- Capture multiple angles and include the entire scene for context and thorough documentation.
- Use proper formats like JPEG or PNG, avoiding excessive compression to preserve detail.
- Label and organize images with descriptive filenames and timestamps for easy identification.
- Ensure the photos are focused, centered, and free of distractions or background clutter.

Photo evidence plays a essential role in verifying claims and uncovering the truth. When you’re submitting photos to support your case, the quality of those images can make all the difference. High-quality photos ensure that details are clear and distinguishable, which helps authorities or investigators assess the situation accurately. Poorly taken pictures with low resolution or blurry images may lead to doubts about their authenticity or relevance, so it’s paramount to focus on maintaining good document quality. Keep your photos sharp, well-lit, and in focus, and avoid excessive editing that could distort the original scene. Additionally, choosing the right photo formats is paramount, as some formats preserve image quality better than others. Common formats like JPEG are widely accepted for their balance of quality and file size, but if you’re dealing with detailed evidence, formats like PNG or TIFF might be preferable because they retain more detail without compression artifacts. Always check the specific requirements of the entity you’re submitting to, as some may have preferred formats to streamline review processes.
When capturing photo evidence, make certain the entire scene or object is visible and centered, avoiding unnecessary distractions in the background. Use a steady hand or stabilize your camera to prevent motion blur, and take multiple shots from different angles if possible. This approach increases the likelihood of obtaining a clear, thorough image that leaves little room for misinterpretation. Also, pay attention to lighting conditions; natural light is often best, but if you’re indoors, ensure the area is well-lit to avoid shadows or dark spots that obscure details. Remember, the goal is to produce a clear representation of the evidence that can stand up to scrutiny. Incorporating consistent lighting can significantly enhance image clarity and detail visibility.
When saving your photos, avoid over-compressing or reducing their resolution, as this can diminish the document quality and obscure important details. Keep original copies intact and, if necessary, create duplicates in the required format for submission. Label your files properly with relevant descriptions or timestamps so that they can be easily identified and cross-referenced later. To sum up, the key to effective photo evidence is to prioritize clarity, use appropriate photo formats, and maintain high document quality throughout the process. Doing so ensures your images effectively support your claims, making it easier for others to understand and trust the evidence you provide.
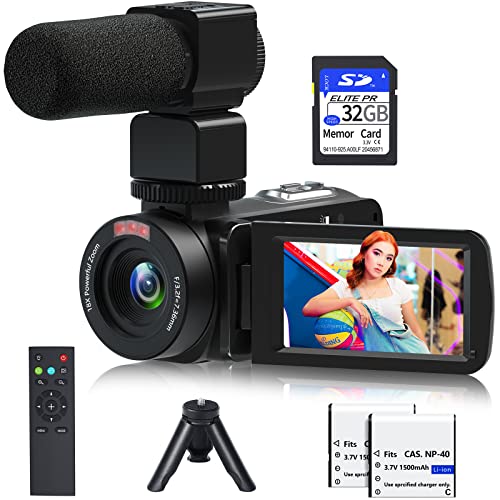
Video Camera, 1080P 30MP Camcorder IR Night Vision Vlogging Camera for YouTube,3.0" LCD Screen 18X Digital Zoom Recorder Camera with Remote Control, Microphone, Mini Tripod, 2 Battries, 32GB SD Card
【Video Camera Camcorder】--This 30FPS video camera recorder movies in 1080P resolution.It includes remote control, microphone, mini tripod, 2...
As an affiliate, we earn on qualifying purchases.
Frequently Asked Questions
How Should I Label My Photo Evidence for Clarity?
You should label your photo evidence clearly by using descriptive, specific titles that explain what’s in the image. Incorporate relevant details like dates, locations, or subjects to improve photo labeling. Keep your image organization consistent by creating folders for different categories or cases. This way, you’ll easily find and present your evidence when needed, reducing confusion and ensuring your photo documentation remains clear and professional.
What Is the Best Format to Send Photo Evidence?
You should send your photo evidence in a high-resolution JPEG or PNG format to guarantee clarity. Avoid compressed files that lose detail. Make sure the photo metadata is intact, as it verifies date and location details. This format maintains image quality and provides essential information, reducing the risk of misinterpretation. Using clear, well-resolved images with preserved metadata demonstrates professionalism and strengthens your case.
How Many Photos Are Considered Sufficient as Evidence?
You should send at least 3 to 5 clear photos as evidence, ensuring they have high photo quality to clearly show details. Include photos from different angles if possible, and make sure the photo metadata remains intact to verify when and where they were taken. This variety and clarity strengthen your evidence, giving a complete view while maintaining authenticity through metadata.
Can Edited Photos Be Used as Legitimate Evidence?
Studies show that over 60% of digital images are altered before sharing, highlighting concerns about photo authenticity. You can use edited photos as evidence, but be aware that digital manipulation may cast doubt on their legitimacy. Courts and investigators scrutinize photo authenticity closely, so if you include edited images, clearly document any changes and provide context to prove the evidence’s integrity. Transparency is key to ensuring your evidence is credible.
What Should I Do if My Photo Evidence Gets Lost?
If your photo evidence gets lost, act quickly by seeking backup copies and verifying metadata accuracy. Contact relevant authorities to report the loss and provide any available details. Make sure your photos have high photo quality and clear timestamps to strengthen their credibility. Keep digital and physical backups, and consider using trusted cloud storage or secure drives. Prompt action guarantees your evidence remains valid and reliable for legal or investigative purposes.

VETEK Video Camera 8k Camcorder 48MP UHD WiFi IR Night Vision Vlogging Camera for YouTube, 18X Digital Zoom 3.0“ LCD Screen Digital Camera with Microphone, 32G SD Card, Remote Control and 2 Batteries
【8K 48MP Video Camera】It adopts for newest upgraded sensor.This vlog camera max supports 8K(7680X4320)15fps video resolution,(It also supports...
As an affiliate, we earn on qualifying purchases.
Conclusion
When in doubt, sending clear photo evidence can make or break your case—think of it as your secret weapon in a sea of chaos. Your images can cut through confusion faster than a lightning strike, leaving no room for doubt. So, always capture sharp, detailed photos that tell your story. Remember, a well-taken picture isn’t just evidence; it’s a game-changer, turning the tide in your favor with the power of a thousand words.

Video Camera, Full HD 1080P 30MP Camcorder, Vlogging Camera for YouTube with Infrared Night Vision, 18X Digital Zoom 3.0“ LCD Screen Digital Camera, Video Recorder with Remote Control and Battery
【Full HD 1080P 24MP Video Camcorder】This video camera supports up to 1080P video resolution and 24.0MP image resolution....
As an affiliate, we earn on qualifying purchases.
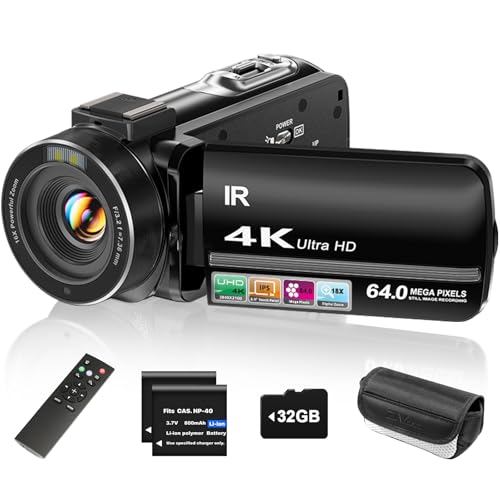
ZYDIIE 4K Video Camera Camcorder UHD 64MP Vlogging Camera for YouTube 18x Digital Zoom 3" 270° Rotation IPS Touchscreen Video Camcorder with Night Vision, Remote Control, 32GB Card, 2 Batteries
4K & 64MP Video Camera Camcorder: Capture life in breathtaking detail with 4K Ultra HD recording and vibrant...
As an affiliate, we earn on qualifying purchases.