To record high-quality ambient sound, carefully choose your microphone placement to capture the environment naturally without noise artifacts. Use windshields outdoors and apply noise reduction tools sparingly during post-production to maintain authenticity. Adjust your gain settings to avoid distortion and monitor with headphones to guarantee clarity. experiment with different angles and heights, and be patient, as small adjustments can make a big difference. Continue exploring these techniques, and you’ll enhance your ambient recordings considerably.
Key Takeaways
- Use strategic microphone placement at appropriate distances and angles to capture natural ambiance without noise overload.
- Employ windshields, dead cats, and software noise reduction to minimize unwanted background sounds.
- Monitor sound levels with headphones and adjust gain settings to prevent clipping and distortion.
- Select suitable omnidirectional or directional microphones tailored for ambient recording environments.
- Practice patience and experimentation, adjusting positions and settings to achieve authentic, immersive sound quality.
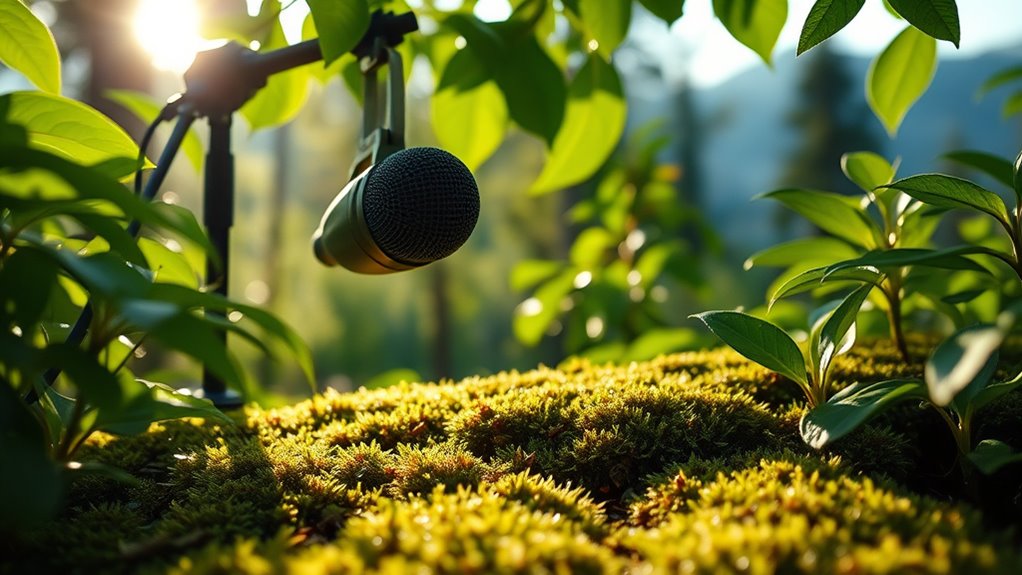
Capturing high-quality ambient sound requires more than just pressing record; it demands careful attention to your environment, equipment, and technique. One of the most critical aspects is microphone placement. You want to position your microphone where it can pick up the natural atmosphere without overwhelming background noise or unwanted sounds. Instead of sticking the mic close to a source, you should place it at a distance that captures the richness of the environment, allowing you to record the full depth and spatial qualities of the space. Experiment with different angles and heights to find the sweet spot that best represents the scene. Keep in mind that slight adjustments in microphone placement can considerably influence the overall sound quality and ambiance.
Microphone placement is key to capturing natural, immersive ambient sound without unwanted noise.
In addition to strategic placement, noise reduction techniques play a crucial role in ensuring your recordings are clean and professional. Before recording, identify potential noise sources—like traffic, air conditioning, or electrical hum—and take steps to minimize their impact. Using windshields or dead cats on your microphone can reduce wind noise and plosive sounds, especially if you’re recording outdoors. You can also employ filters or software-based noise reduction tools during post-production to eliminate constant background hums or hiss. However, be cautious not to overdo noise reduction, as it can introduce artifacts or reduce the natural warmth of your recording. The goal is to strike a balance, maintaining the authenticity of the ambient environment while eliminating distracting noises.
Sound level control is equally important. Use a proper audio interface or recorder with adjustable gain settings to prevent distortion or excessive noise. Keep the microphone’s sensitivity appropriate for the environment—lower gain levels for noisy spaces and higher for quieter settings—so you capture a clear, balanced sound. It’s also wise to monitor your recordings with headphones, enabling you to detect issues like clipping or unwanted sounds in real-time. This proactive approach allows you to make on-the-spot adjustments, ensuring your ambient recordings are as pristine as possible. Additionally, understanding microphone placement techniques can significantly improve your ability to capture authentic soundscapes.
Finally, remember that patience and repeated adjustments are key. Sometimes, finding the perfect microphone placement or noise reduction setup takes trial and error. Trust your ears, and don’t rush the process. By combining thoughtful microphone placement with effective noise reduction techniques, you’ll be able to create ambient recordings that truly capture the essence of the environment, enriching your projects with authentic, immersive sound.
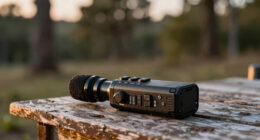
high quality ambient microphone
As an affiliate, we earn on qualifying purchases.
As an affiliate, we earn on qualifying purchases.
Frequently Asked Questions
What Are the Best Times of Day for Ambient Recording?
You should record ambient sound during early mornings or late evenings when ambient noise levels are lower. Timing considerations are vital because these times tend to have minimal human activity and quieter natural sounds, ensuring better quality recordings. Avoid midday hours when traffic, people, and other noises peak. By choosing these quieter periods, you’ll capture cleaner, more authentic ambient sounds that enhance your recordings considerably.
How Do Weather Conditions Affect Ambient Sound Quality?
Weather variability considerably impacts ambient sound quality by causing changes in soundscape and noise levels. Atmospheric interference, like wind, rain, or humidity, can introduce unwanted noise or distortions, making recordings less clear. To achieve the best results, monitor weather forecasts and choose days with stable, calm conditions. Protect your equipment from adverse weather, and be prepared to adjust your setup to minimize atmospheric interference for cleaner, high-quality ambient recordings.
Can I Use Smartphone Microphones for High-Quality Ambient Recordings?
Think of your smartphone as a painter’s brush—useful but limited. While smartphone microphones can capture ambient sounds, they often lack the depth and clarity you need. To truly elevate your recordings, consider external microphone options that can bypass these limitations, providing richer, more detailed soundscapes. Investing in an external mic helps you harness your device’s potential, transforming everyday recordings into professional-quality ambient sound captures.
What Are Common Mistakes to Avoid During Ambient Sound Recording?
To avoid mistakes during ambient sound recording, pay close attention to microphone placement, ensuring it’s positioned to capture natural sound without interference. Be mindful of audio clipping, which happens when levels are too high, causing distortion. Always monitor your levels, use proper gain settings, and test your setup beforehand. Avoid handling the microphone unnecessarily, as it can introduce noise, and record in a quiet environment for the best quality.
How Do I Protect My Equipment During Outdoor Ambient Recordings?
Imagine your gear as a delicate treasure chest on a stormy sea. You protect it by using protective gear like weatherproof covers and sturdy cases, shielding it from rain, dust, and humidity. Pay close attention to equipment placement, keeping mics and recorders off the ground and away from water or debris. This way, your equipment stays safe, ensuring your ambient recordings remain pristine despite outdoor challenges.
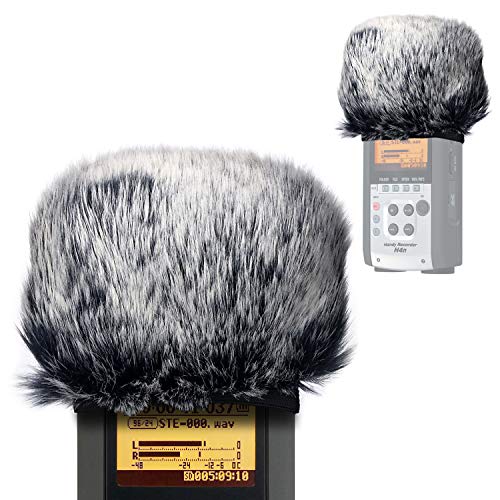
Furry Outdoor Microphone Windscreen Muff for Zoom H4N Pro Portable Digital Recorders, Zoom Mic Windscreen Fur Windshield Dead Cat Wind Cover Pop Filter by YOUSHARES
Professional Windscreen – Specially designed for Zoom H4N Pro. Perfect fits your Zoom Handy Recorders.
As an affiliate, we earn on qualifying purchases.
As an affiliate, we earn on qualifying purchases.
Conclusion
So, seize the soundscape around you, and stay steadfast in your pursuit of pristine, pure recordings. With patience, practice, and passion, you’ll perfect your process and produce powerful, picturesque ambient audio. Remember, the more mindful your methods, the more magical your melodies become. Embrace every echo, every essence, and elevate your environment into an extraordinary auditory adventure. Trust your talent, take time, and transform simple sounds into stunning symphonies.
noise reduction software for audio
As an affiliate, we earn on qualifying purchases.
As an affiliate, we earn on qualifying purchases.
omnidirectional microphone for ambient sound
As an affiliate, we earn on qualifying purchases.
As an affiliate, we earn on qualifying purchases.